
Tradescantia Cuttings in the Mail? Here’s What to Do

There’s nothing more exciting than getting new Tradescantia cuttings in the mail, finally getting those new cultivars you’ve been wanting for so long! But if you’ve ever ordered plants online, you also know the reality, after spending a week or even two in a dark box, those cuttings don’t always look their best.
They might be a little limp, a bit yellow, or just generally tired. Don’t worry, that doesn’t mean they won’t recover. With the right care, most cuttings bounce back quickly and grow into strong, healthy plants.
In this newsletter, I’ll share my best tips for what to do when your new Tradescantia cuttings arrive, so you’ll know exactly how to help them settle in and thrive.
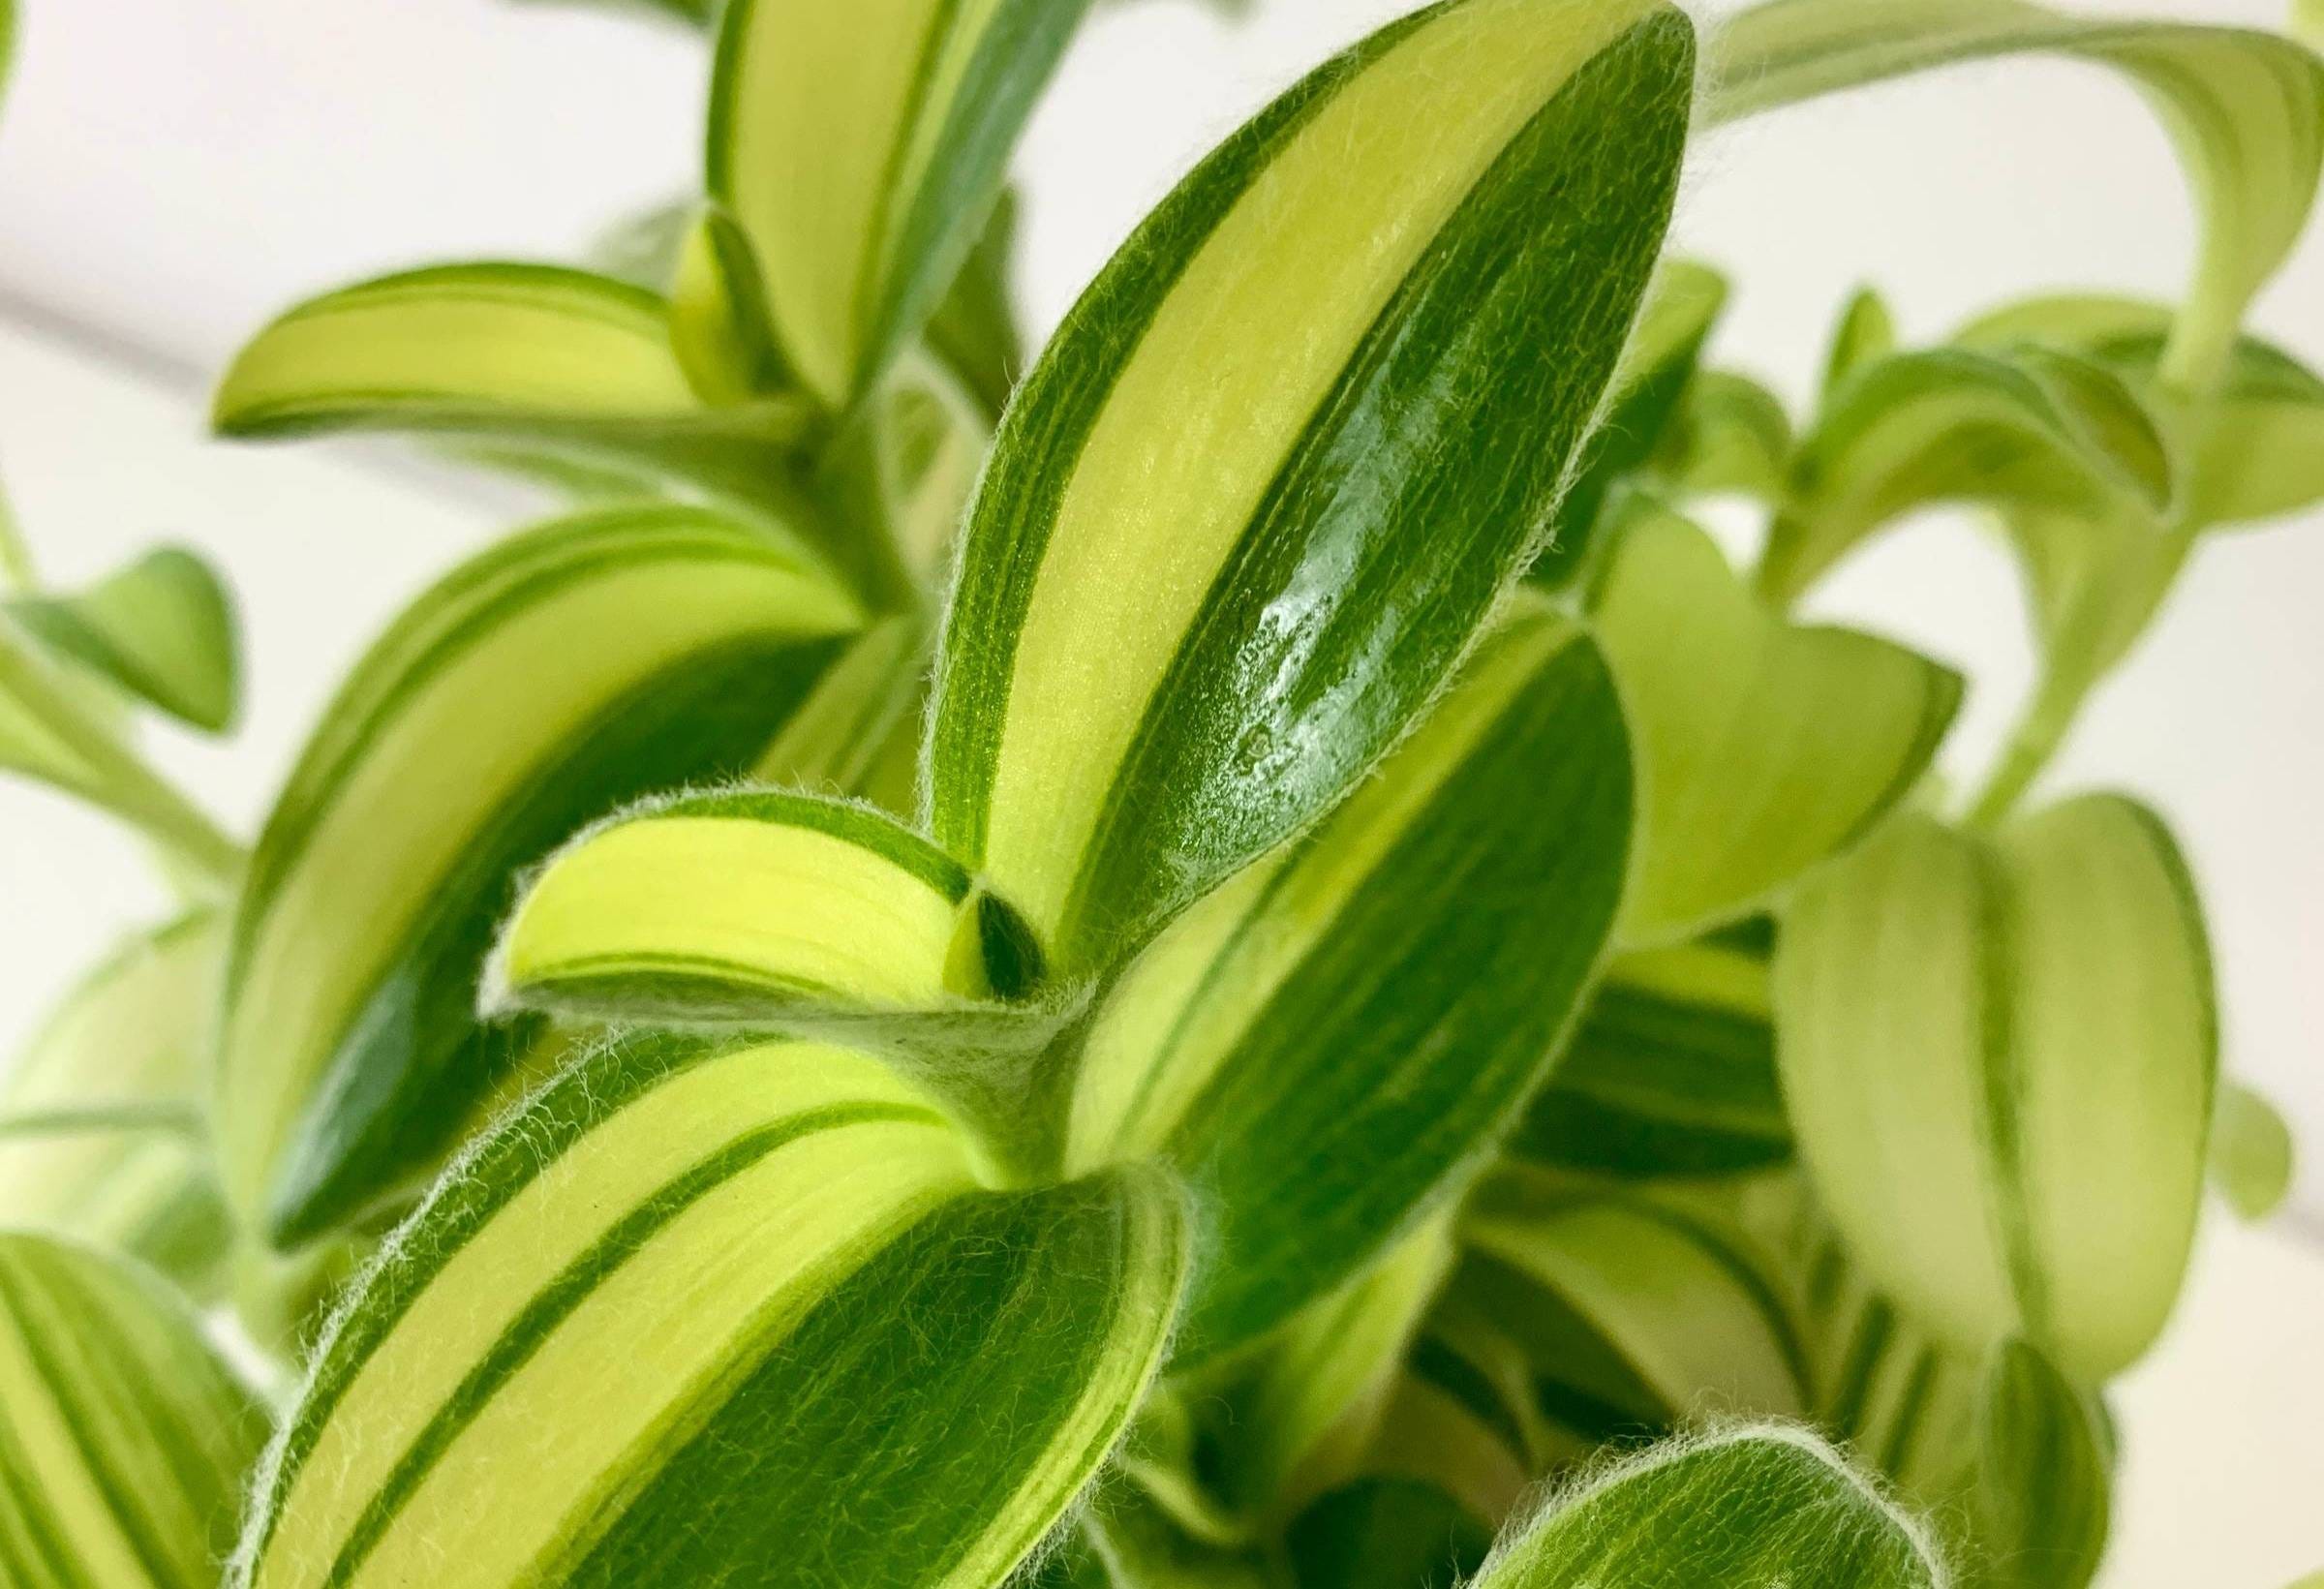
Tradescantia of the week: Sillamontana Gold Stripes
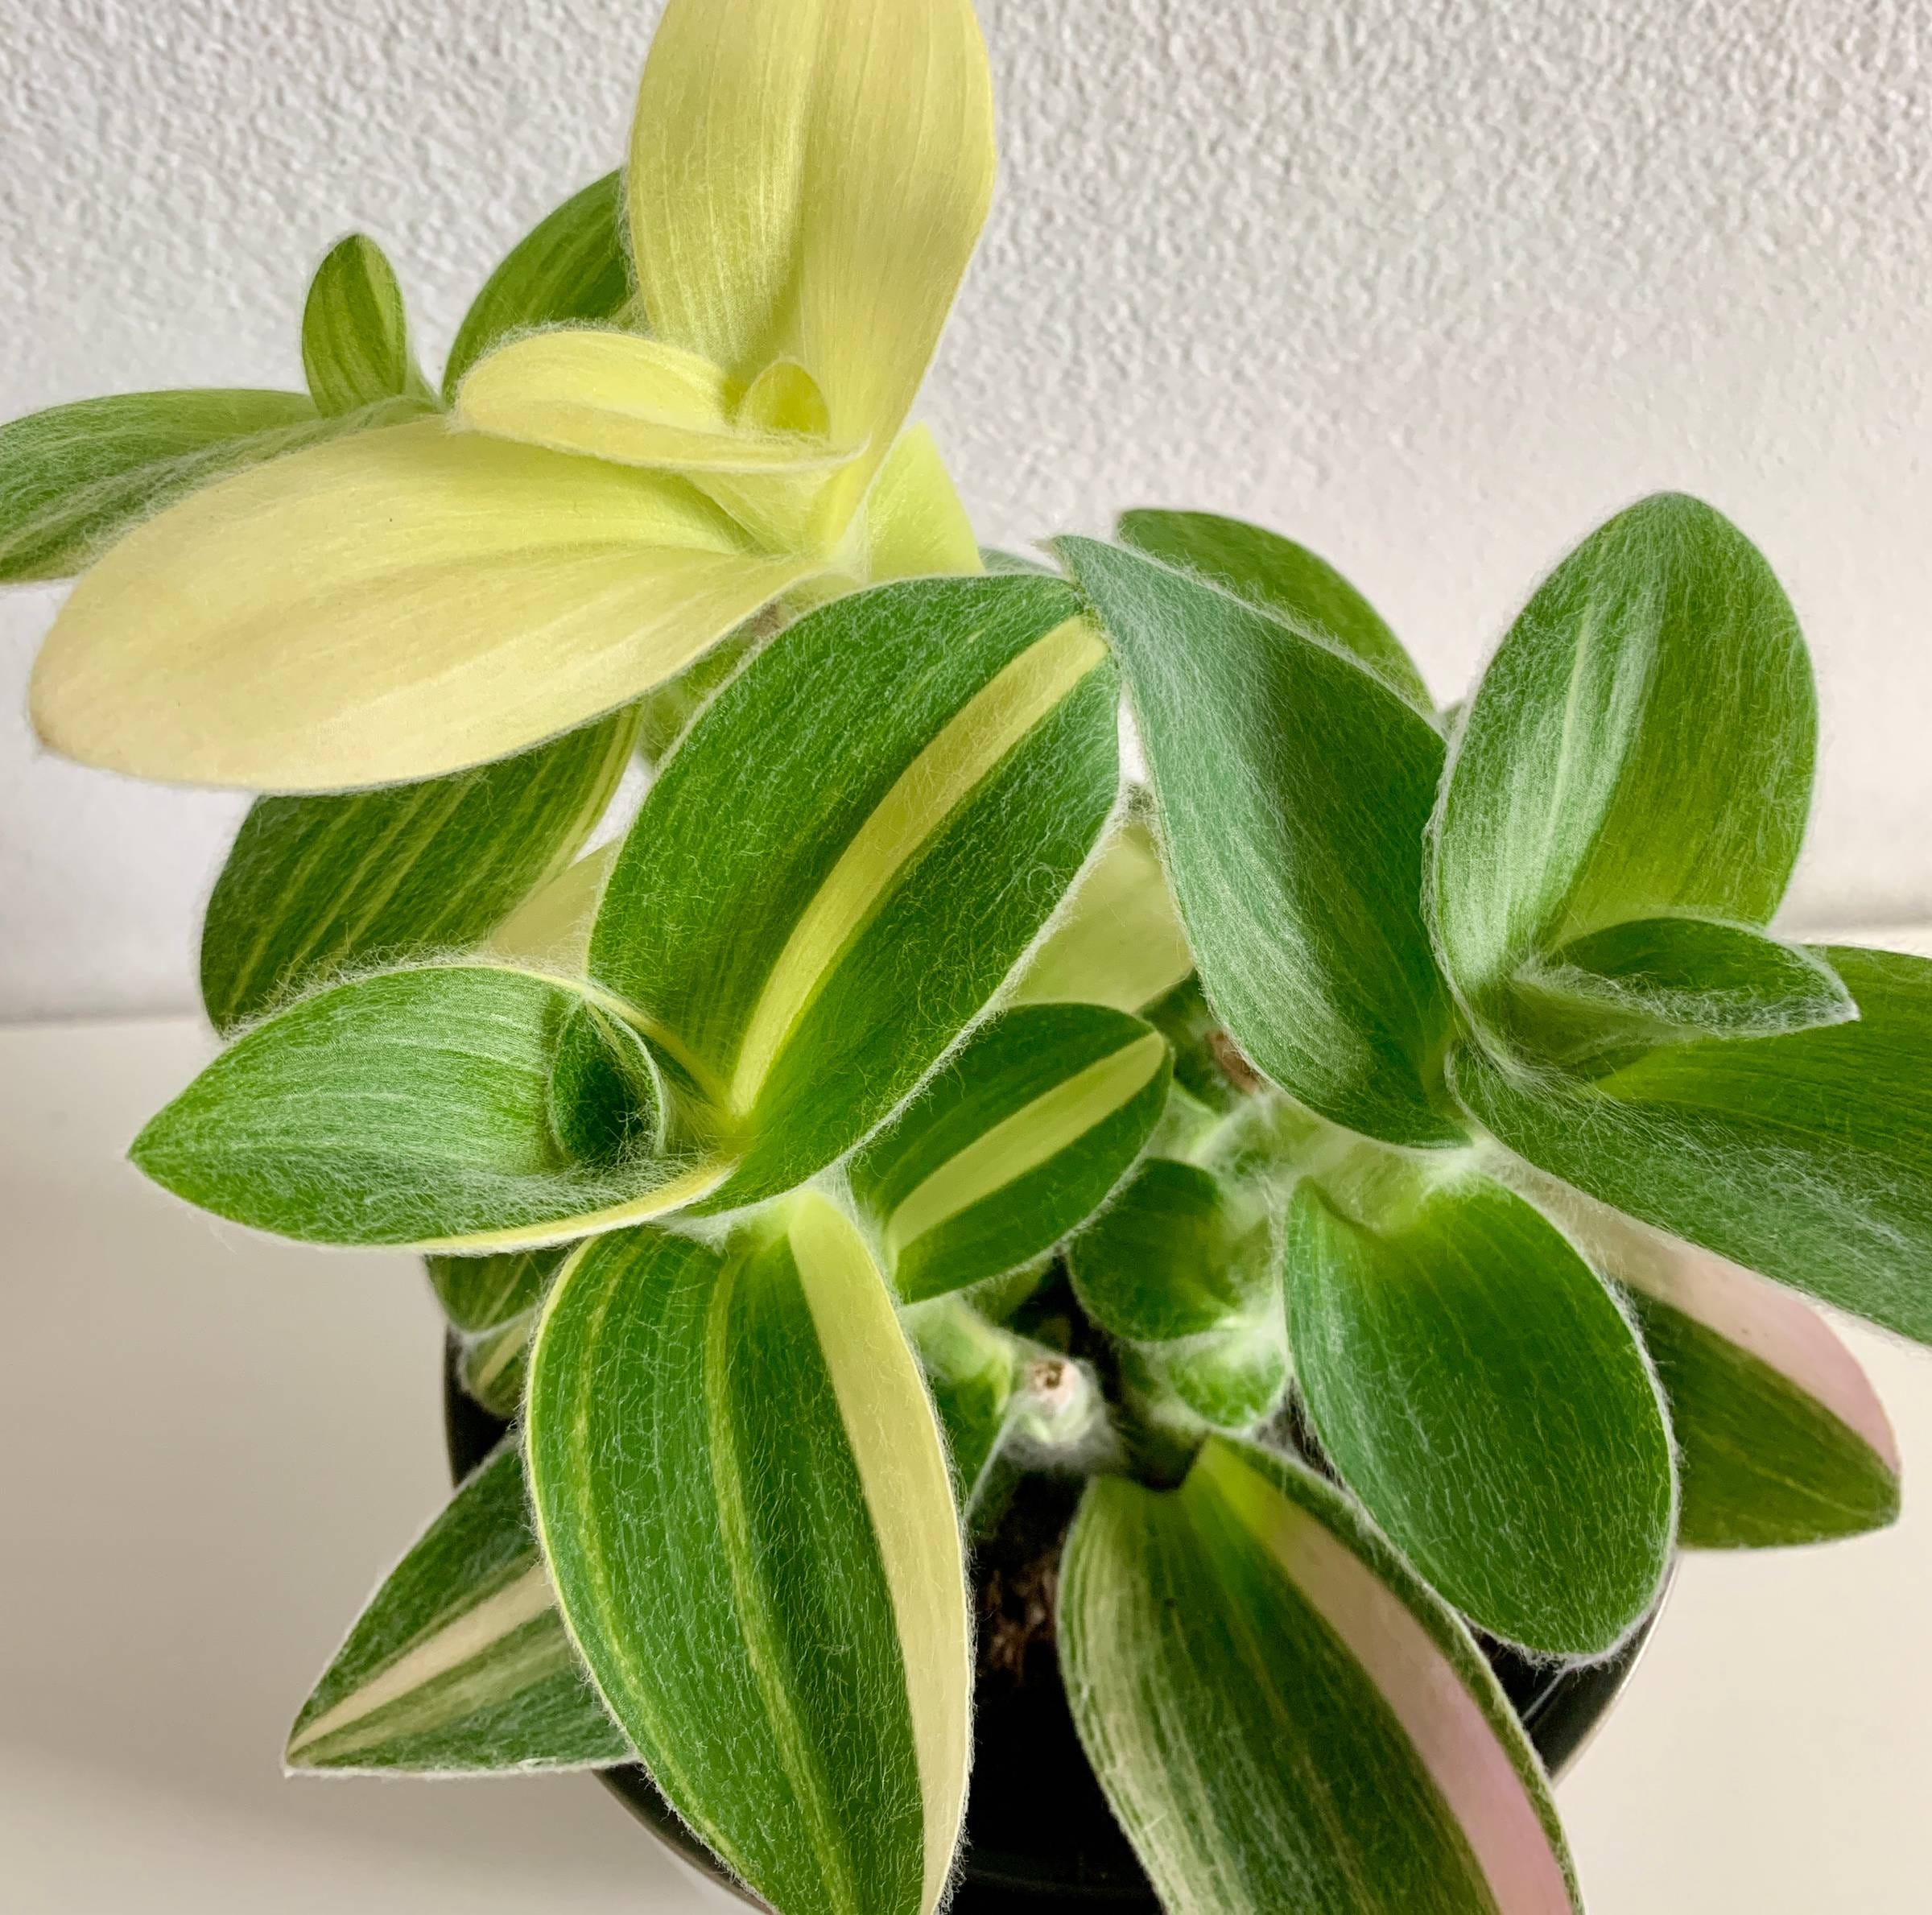
This week’s plant is Sillamontana Gold Stripes. The Sillamontanas are probably the most drought-tolerant of all Tradescantias.
The non-variegated Sillamontana is native to northeastern Mexico, where it has adapted to dry seasons by developing some clever survival strategies. The thick layer of white hairs covering the leaves and stems not only gives it a fuzzy look, but also protects the plant from harsh sunlight and helps it hold on to water. Its fleshy leaves and stems act as little reservoirs, storing water for when times get tough.
In my experience, it’s a fairly easy plant to care for. It loves bright light and really benefits from being placed in a sunny spot. Without enough light it tends to stretch out and lose that nice compact look. A well-draining soil mix is a must, and when it comes to watering, less is more. Being semi-succulent, it’s much better to underwater than to overwater, since too much moisture is the one thing it doesn’t tolerate well.
Caring for Newly Arrived Cuttings
So, let’s dive into the main topic of this newsletter. What should you actually do when your Tradescantia cuttings finally arrive? Here’s my guide to help them recover from shipping and settle in happily.
Unboxing and First Check
The first thing to do when your cuttings arrive is simply to open the package carefully and see what you’re working with. After a week or more in a box, it’s normal for them to look a little sad, but don’t panic if the leaves and stems are limp, yellowing, or even a bit mushy. That doesn’t mean the cutting is lost.
Gently remove any packaging material like paper, moss, or plastic. If some leaves are damaged or melted, trim them off so the plant doesn’t waste energy on them. At the same time, you’ll want to keep the healthy leaves. Those leaves can help the cutting by absorbing light and producing energy while the roots are developing.
Make sure to also check the stems. Any soft, mushy sections should be trimmed away, since they’ve already started to rot and can spread damage further up the cutting if left in place.
What matters the most is that there’s at least one healthy node left, that’s all you need to grow a whole new plant. Of course, you’ll want to keep as much of the cutting as possible, but the priority is always to remove anything that could cause further damage.
Rooting – Water, Soil, or Sphagnum?
When it’s time to root your new cuttings, you can choose between three main methods, water, soil, or sphagnum moss. All of them can work well, but the condition of the cutting often decides which option is best.
If the cutting looks healthy and hasn’t been affected much by shipping, it doesn’t really matter which method you use. In that case, all three options work fine. Personally, I often go straight to soil with cuttings that arrive in good shape, since it saves a step later on.
If the cutting looks healthy but you don’t have much time to deal with it right away, water is the easiest choice. It’s quick, you can see the roots forming, and you don’t need to do much more than change the water every few days.
If the cutting is very stressed, limp, or partly damaged, then sphagnum moss is my go-to. It provides constant humidity while still letting the cutting breathe, which helps it recover faster. Water can also work here, but I recommend avoiding soil in this situation, because it’s trickier to manage when the cutting is already weak.
Water rooting
Place the cuttings in a clean glass of water, making sure at least one node is submerged. Change the water every few days to keep it fresh and prevent bacteria. Within a week or two, you’ll usually see roots start to form. Once the roots are a few centimeters long, you can either leave them in water for longer or pot them up in soil.
Soil rooting
Fill a small pot with well-draining soil and place the cutting so that at least one node is under the soil, then gently press the soil around it. Water lightly so the soil is moist but not soggy. You won’t see the roots, but you can gently pull on the cutting, if you feel resistance, roots have started to form. It’s normal for leaves to go limp at first, but as long as the cutting looks generally healthy, give it time. Once it has adjusted, the leaves should perk up again.
Sphagnum moss rooting
Moisten the sphagnum moss so it’s damp but not wet. Place the cutting into the moss, making sure a node is in contact with the damp fibers. I recommend using a small pot or jar without drainage holes so the moss doesn’t dry out too quickly. I avoid closed containers, since there’s too much risk of rot if the environment stays too humid. Check the moss every few days, if it feels dry, mist it lightly. Once roots are visible and strong, you can plant the cutting into soil.
No matter which method you pick, place the cuttings in bright light. Good light will give the plant energy to recover and produce new growth, and with a bit of patience, they’ll soon start putting out new roots.
Common Problems With Cuttings
Even with the best care, cuttings can show signs of stress after shipping and while rooting. Here are a few common issues and what they usually mean:
Browning leaves
It’s normal for some older leaves to turn brown and drop off. The cutting is focusing its energy on survival and new growth. Just remove the leaves and don’t worry too much, what matters is that the stem and nodes are healthy.
Yellowing leaves
If several leaves start to turn yellow, it can be an early sign of overwatering. Soil or moss that stays too wet for too long can lead to rot. Make sure the medium is only lightly moist and never soggy.
Soft stems
If parts of the stem turn soft and mushy, it usually means rot has started. Cut back to healthy tissue and restart the cutting from a firm section. Leaving rot can spread and kill the whole cutting.
Limp leaves
It’s very common for leaves to go limp at first, especially if the cutting has been in a box for a long time. It’s often just a sign of dehydration. As long as the stem is healthy, the leaves usually perk up again once roots begin to form.
Pests
It’s always important to keep an eye out for pests and preferably quarantine all your new cuttings. Even if it’s a trusted seller, it can happen that some uninvited guests have found their way onto your cuttings. Always check carefully before placing them with other plants.
Wrapping it up
Getting Tradescantia cuttings in the mail is always a little adventure. They might not look perfect after a long trip, but with the right care most of them bounce back quickly.
I hope these tips help you feel more confident in handling newly arrived cuttings.
Until next time, happy planting! 🌿
Katja


Disclaimer: These are affiliate links, which means I earn a small commission if you make a purchase using my codes, at no extra cost to you. Your support helps me keep sharing Tradescantia tips and content—thank you!
